
04 Sep How To Remove Caulk
Sometimes a little bleach is all you need to remove stains from caulk. If, however, the caulk around your tub is in a permanent state of funky discoloration, it’s time to remove and replace it. The same is true if the caulk is starting to lift and peel away from the surface. The caulk removal process is the same no matter what type of caulk you’re removing or what you intend to replace the old caulk with. There’s no magical removal method. All you can do is apply a chemical softener and then carefully dig the old caulk out of its groove.
Soften It Up
Before asking your spouse or a friend for a massive favor, you may try to soften them up a bit first. Take the same approach with old caulk. Sweet talk won’t work on caulk, but a bit of chemical persuasion will. Hardware and home improvement stores almost universally carry chemical solvents called caulk removers. While not strictly necessary, using a caulk removal product to soften the old caulk will make your life much easier. To do so, cover the old caulk with a bead of caulk remover and allow it to sit overnight. Close the bathroom door to keep curious pets and children away from the solvent while it works. Caulk removers work on all types of caulk, including silicone, acrylic and vinyl, so you don’t need to know what kind of caulk you’re removing to make use of them. They can harm plastic, however, so read the directions carefully and know what your tub or sink surround is made of.
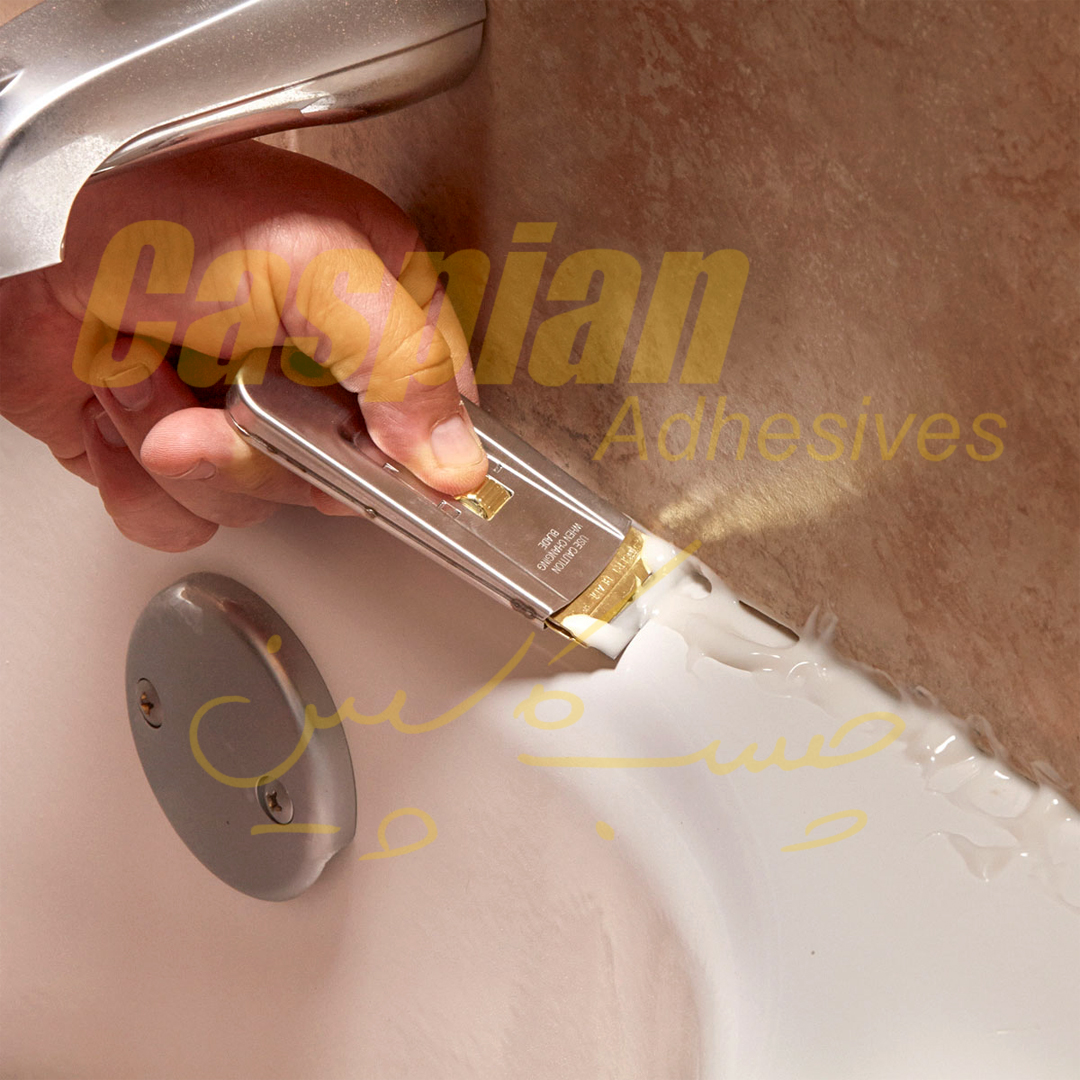
Pull It Out
Once the old caulk has softened, simply pull it off the tile or wall. You’ll need a caulk removal tool, putty knife, utility knife or the hook end of a painter’s 5-in-1 tool to get into the crack and start working the caulk free. If the caulk is several layers thick, a pair of needle-nose pliers may give you the best grip. The goal is to lift the edge of the caulk and slowly pull it out in one strip if possible. The old caulk may stretch or crumble, depending on its age and composition. Tougher jobs may require you to break the caulk free by cutting into it. Whatever tool you use to do this, move slowly, carefully and patiently. One slip could mean damaging the tub, tile or bath surround. After pulling out the bulk of the caulk, scrape away the remnants with the utility knife or painter’s tool. Once again, exercise caution and patience to avoid causing any damage. Caulk removal isn’t a difficult job, but it’s also not a glamorous or speedy one. Take a break if you start to get frustrated or feel impatient.
Clean the Area
After removing the old caulk, you’ll need to clean the surface and kill any mold or mildew before re-caulking. Use soap scum remover and warm water to give the area a general cleaning. Next, add 1/3 cup of bleach to a gallon of water to create a mildew-killing solution. Use a chiseled foam brush to work the bleach mixture into the gap where the caulk was. Then scrub the surface with a damp cloth, rinse and dry with a clean cloth. You’re now ready to apply a fresh bead of new caulk to the surface.