
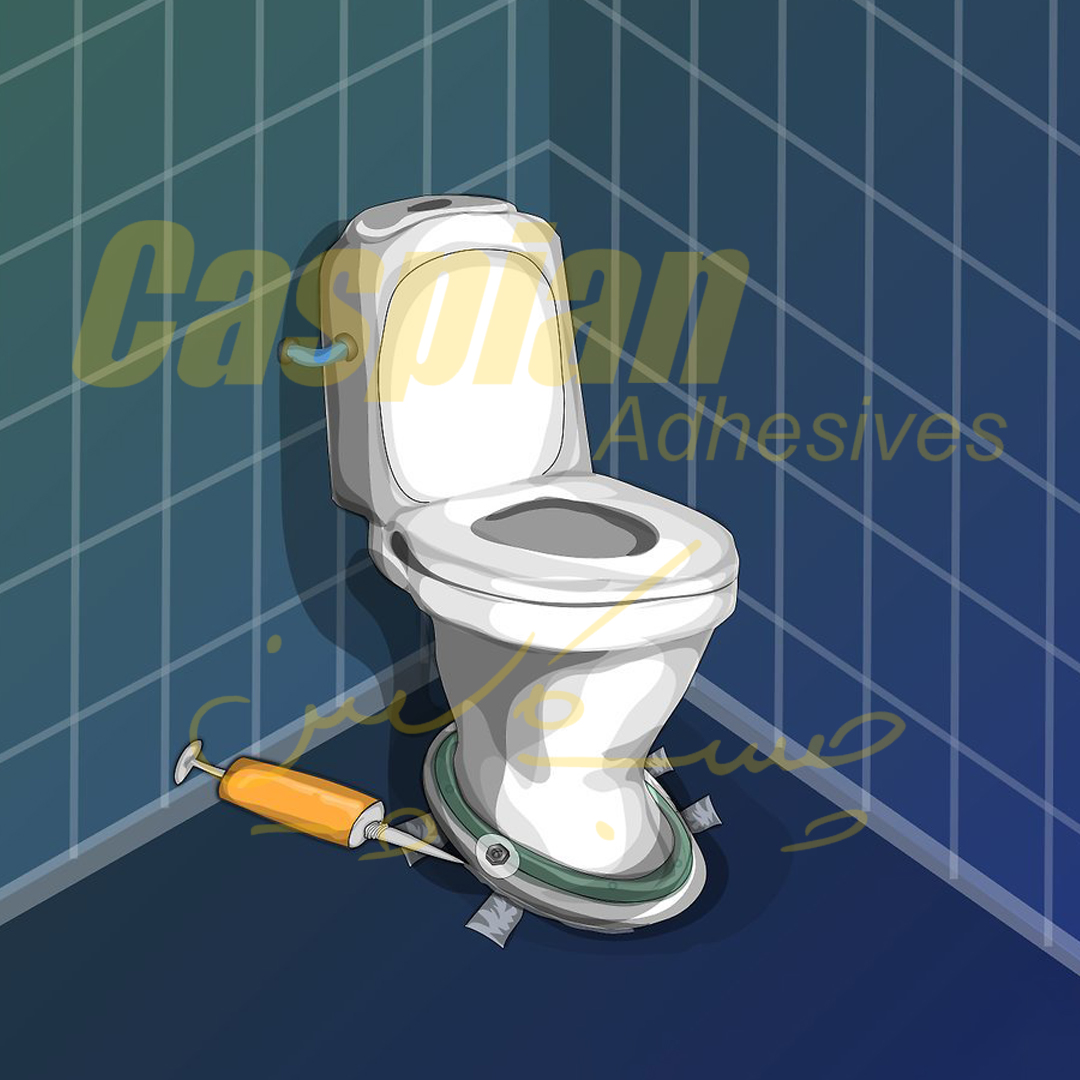
24 May How to Caulk Around a Toilet
Caulking around a toilet is usually done to hide the gap between the toilet’s base and the floor for cosmetic reasons or to prevent odor leakage. It’s not done to prevent water from leaking around the base; doing this would cause more harm than good. It’s a relatively simple home improvement project, but will require the right preparation beforehand. Caulk does require some cleanup and tooling after application to ensure an even, subtle seal.
Preparing the Surface for Caulking
Remove any old caulk
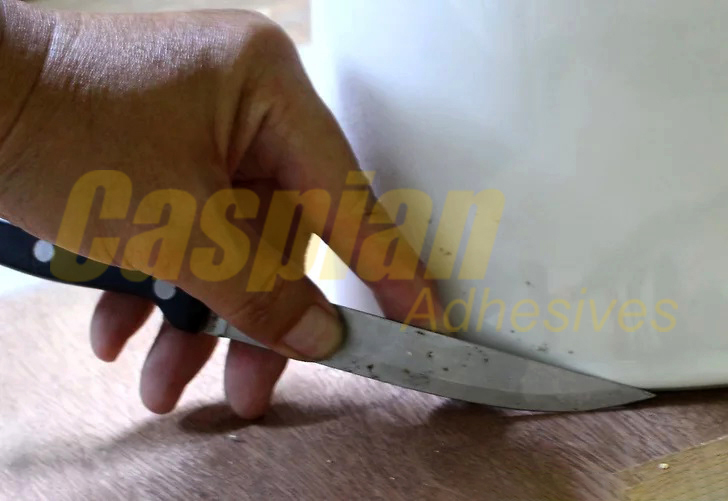
If your toilet already has a caulk seal around the base, you’ll want to remove it rather than apply caulk directly over it. You can find dedicated caulk removal tools in home improvement stores. Run this tool along the joint between the toilet and the floor to scrape out any old caulk.
- If you don’t have a caulk removal tool handy, you can also use a utility or razor knife to loosen the caulk at one end. Aim to pull it up in 1 long strip.
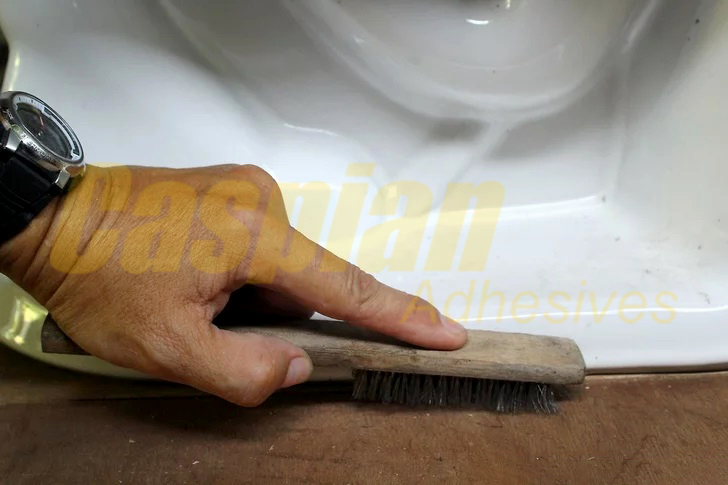
- You can make an old caulking job easier to clean up by applying commercial caulk removers before scraping. If you do, make sure to check the product’s label to prevent any possible damage to your floors or toilet.
- Press a tissue around the base of the toilet to check for moisture. If you find a leak, remove the toilet and replace the wax ring before continuing.
- If any water or other liquid gets in the joint, do your best to dry it. If you can’t quite reach it, make sure to allow enough time for it to dry properly. Overnight should be sufficient. Caulking over liquid will trap it, which can cause damage to your flooring.
- Ensure the toilet is even and tight to the floor. If it moves, tighten the bolts or use a shim to straighten it out. Don’t use the caulk to secure the toilet to the floor if it’s loose or uneven.

- Since most toilets have a round base, you’ll probably have to use several strips of tape to properly follow the curve. Tear up pieces a few inches long, and apply them to the floor, following the curve of the toilet’s base.
- Alternatively, you can also buy masking tape that comes curved and is more flexible than typical tape. This will save you some time in taping up your floor.
Squeezing out the Caulk

Choose 100% silicone caulk
Caulk usually comes in a tube and 100% silicone caulk is best for use on a toilet since it’s more resistant to water than other types of caulk, such as acrylic. Silicone caulk is typically a bit more expensive than other types, but that extra money will save you the problems that come with an improper seal.
- It’s important to match the color of your caulk to your bathroom. White usually fits most styles, but you’ll still want to give this some thought.
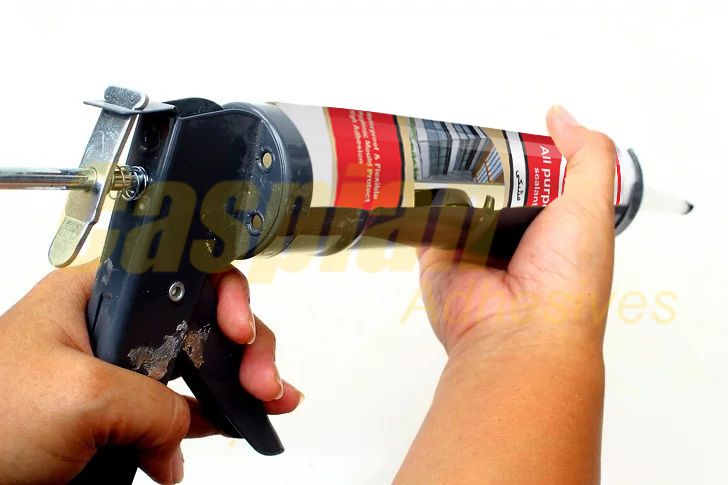
- At the back of the body, you’ll find a metal release, usually shaped like a trigger. Push this forward and you’ll be able to pull back the plunger. You can then insert the caulk tube and push the plunger into the back of the tube.

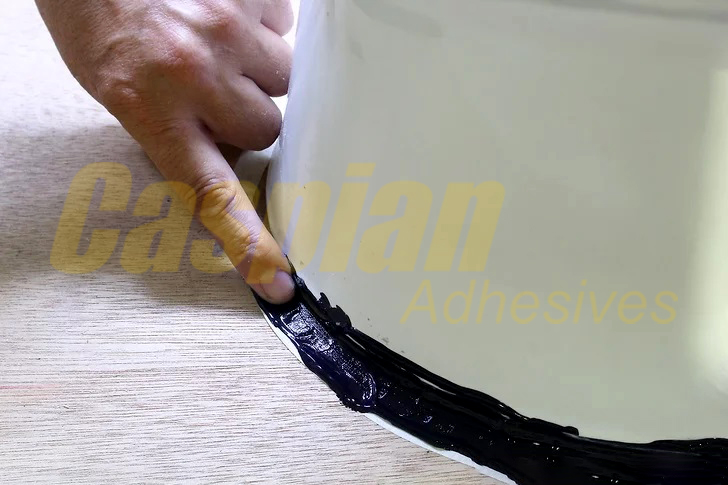
- Use the hand not holding the gun to press the tip of the caulk tube against the joint to ensure that the caulk is pushed into the joint.
- Pushing the caulk rather than pulling it along will make it more difficult to create a consistent seal.
- You may want to have a folded up piece of cardboard available nearby to lay the caulk gun onto if you need to stop for any reason. This will prevent caulk from dribbling onto your floors.
- If you’re having trouble getting your caulk gun behind the toilet, try using caulk in a squeeze tube, which should allow you more flexibility.
Cleaning and Tooling the Sealant
- You can discard any caulk buildup directly in the garbage. If you placed a piece of cardboard down to hold your caulk gun, you can simply collect the caulk there for disposal later.
- If you’re worried about dirtying your hands or irritating your skin, you should wear gloves for this step.
- You can also buy dedicated caulk finishing tools to clean up your seal, however this isn’t strictly necessary.

Use a damp rag or sponge to clean up around the joint
You don’t need to apply any cleaning solution to the sponge; you’re relying on its absorbency to clean up any spilled caulk. Pass a damp rag or sponge lightly around the base of the toilet, picking up any caulk around the joint. Make as many passes as you need to clean up the joint, rinsing the sponge between passes.
source: https://www.wikihow.com/Caulk-Around-a-Toilet