

04 Jan How to Repair a Leaky Aquarium
A leaky aquarium tank can be a big problem, especially if you have a very large aquarium. Most leaks are on the seams and only spill a little water at a time. However, if this problem isn’t fixed, it can lead to the whole aquarium breaking or a large amount of water leaking into your home. If you suspect that your aquarium has a leak, you should take steps to fix it as soon as possible. With some preparation and the proper supplies and techniques, most small leaks in aquariums can be fixed relatively easily.
Preparing the Surface
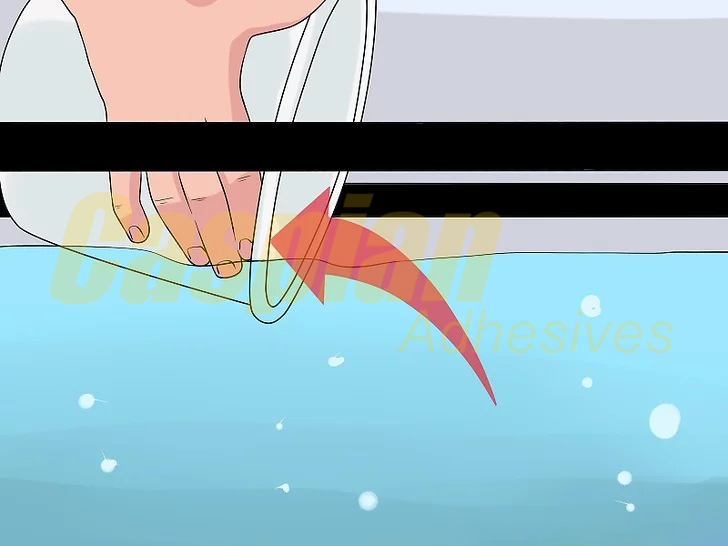
Drain some water from the aquarium.
Drain the water low enough to allow room to clean and dry the area around the leak. You can use a cup, bucket, or other container to remove the water. If the leak is at the bottom of the aquarium, you will need to remove all water and aquarium rocks from the tank.
- If the leak is very low in the tank, you may have to move the fish and aquatic plants into a temporary container or other aquarium while repairs are made.
- Keep in mind that the sealant you seal the leak with will have to cure before refilling the tank, so plan accordingly to keep your fish and plants healthy.

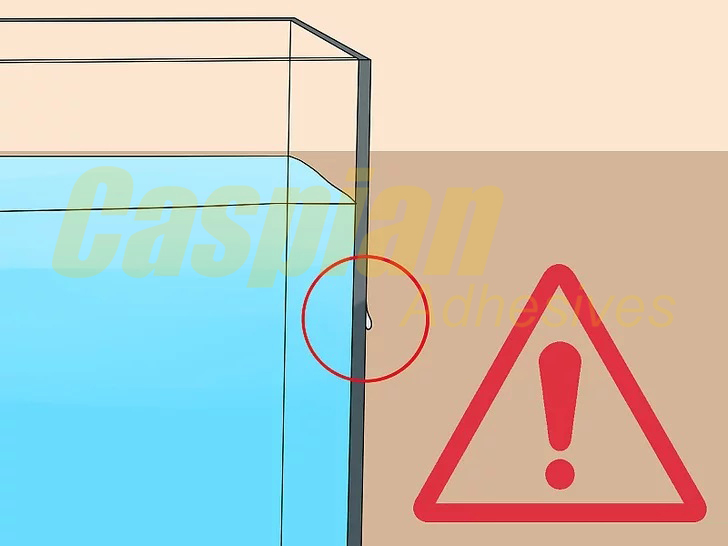
Remove the old sealant.
Scrape away the old sealant around the leaking area with a razor blade scraper. You want to make sure to remove silicone from the leaking area but you don’t want to remove the silicone from between the glass panes. The means that you are just removing the silicone bead on the inside corner of the tank.
- If you didn’t drain the entire aquarium because the leak in high up on the walls of the aquarium, be careful not to allow any of the old sealant to drop in the tank.
- Silicone sometimes does not bond well with old silicone. You may end up having to remove a lot of the silicone on the inside of the tank and then resealing all the seams at one time. If you are already draining, drying, and scraping silicone, you might as well do the whole thing.
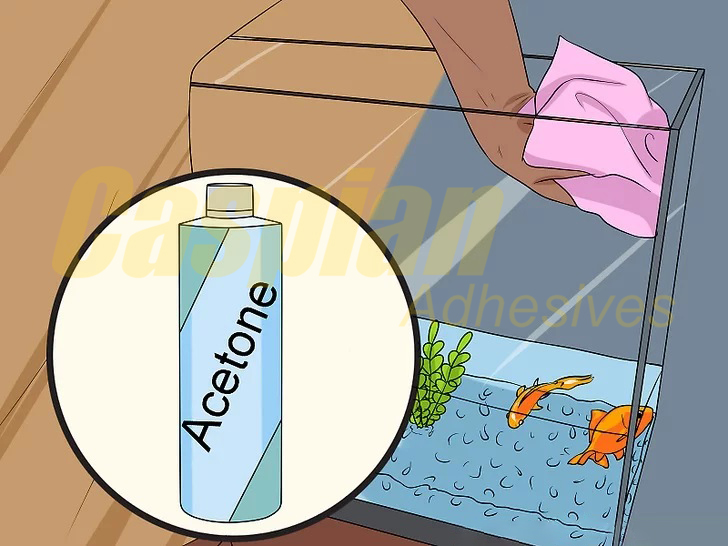
Clean the area.
- Having a clean area will assure that the new silicone that you apply will hold to the glass and you will not end up with another leak in the near future.
Sealing the Leak
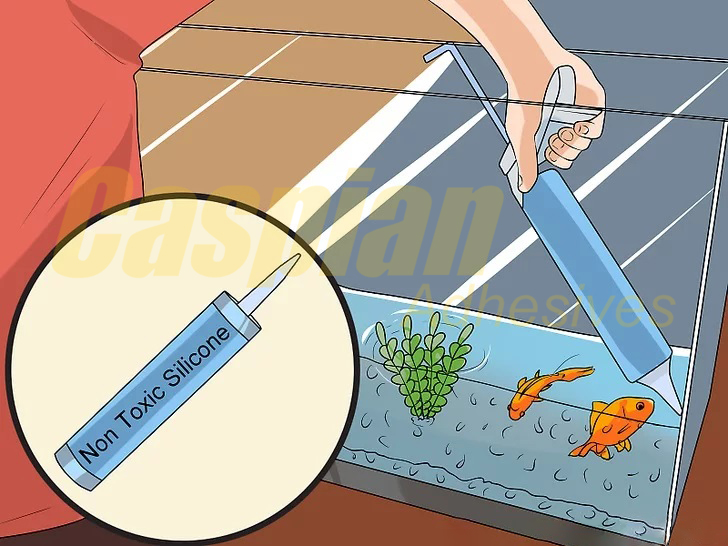
Apply nontoxic 100% silicone sealant to the leak area.
Run a bead of silicone along the leak area using a caulking gun. Then smooth that bead out, with a damp finger or a caulking tool, so that the silicone is smoothed out and it completely covers the seam that leaked.
- Check with a professional aquarium supply for recommended repair products. Make sure that if you use silicone, it is labeled “nontoxic” and “100% silicone”. Also make sure that the silicone sealant has NO fungicide in it and is a High Modulus product.
- You may be tempted to try and repair the leak from the outside of the tank, but usually the repair is more effective if made on the inside. A repair on the inside will hold better, since water pressure will “tighten” the seal pressing the silicone against the glass. If it is applied on the outside, the water pushes the silicone away from the glass.
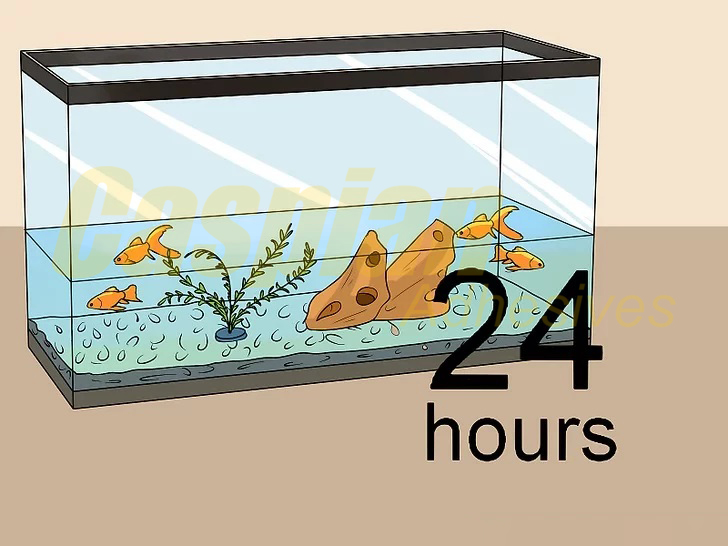
Allow the sealant to dry.
Silicone needs to dry and cure for a minimum of 24 hours. If you are applying it in a cool and dry environment, you may need to wait closer to 48 hours. This time will allow it to set completely, assuring that it attaches properly to the glass and does not leak.
- You may use a heat lamp or other portable heat source to help cure the sealant, but do not heat above 110 degrees (F).
Inspect for leaks.
Refill the tank enough so that there is some water in contact with the repaired seam. Wait a few hours and then fill the tank even further and then look for leaks. Finally, fill the tank all the way and then look for leaks. Take a close look at the area that was leaking and wait awhile to make sure that the water pressure inside the tank doesn’t reopen the leak.
- Try taping a paper towel to the outside of the tank where the leak was and leaving it there for an hour or so. If the towel remains dry, your leak is fixed.
- Keep towels and a bucket nearby, in case of continued leaking. This will allow you to quickly remove the water from the aquarium once again.
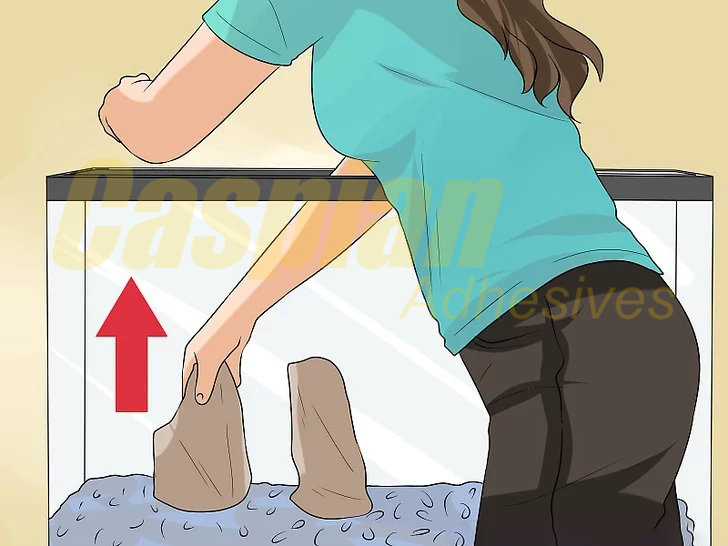
Set the tank back up.
If you have removed everything from the tank, including gravel, fish, and plants, you will need to replace them when you are confident the leak is repaired. Begin with the gravel and then add other objects on the aquarium floor. Add any chemicals to the water that are needed and then return any plants and fish back into the tank.
- This is a really good time to make sure everything you put back in the tank is thoroughly cleaned before you put them back.
Source: https://www.wikihow.com/Repair-a-Leaky-Aquarium