
04 Jan How to apply silicone sealant
How to apply silicone sealant
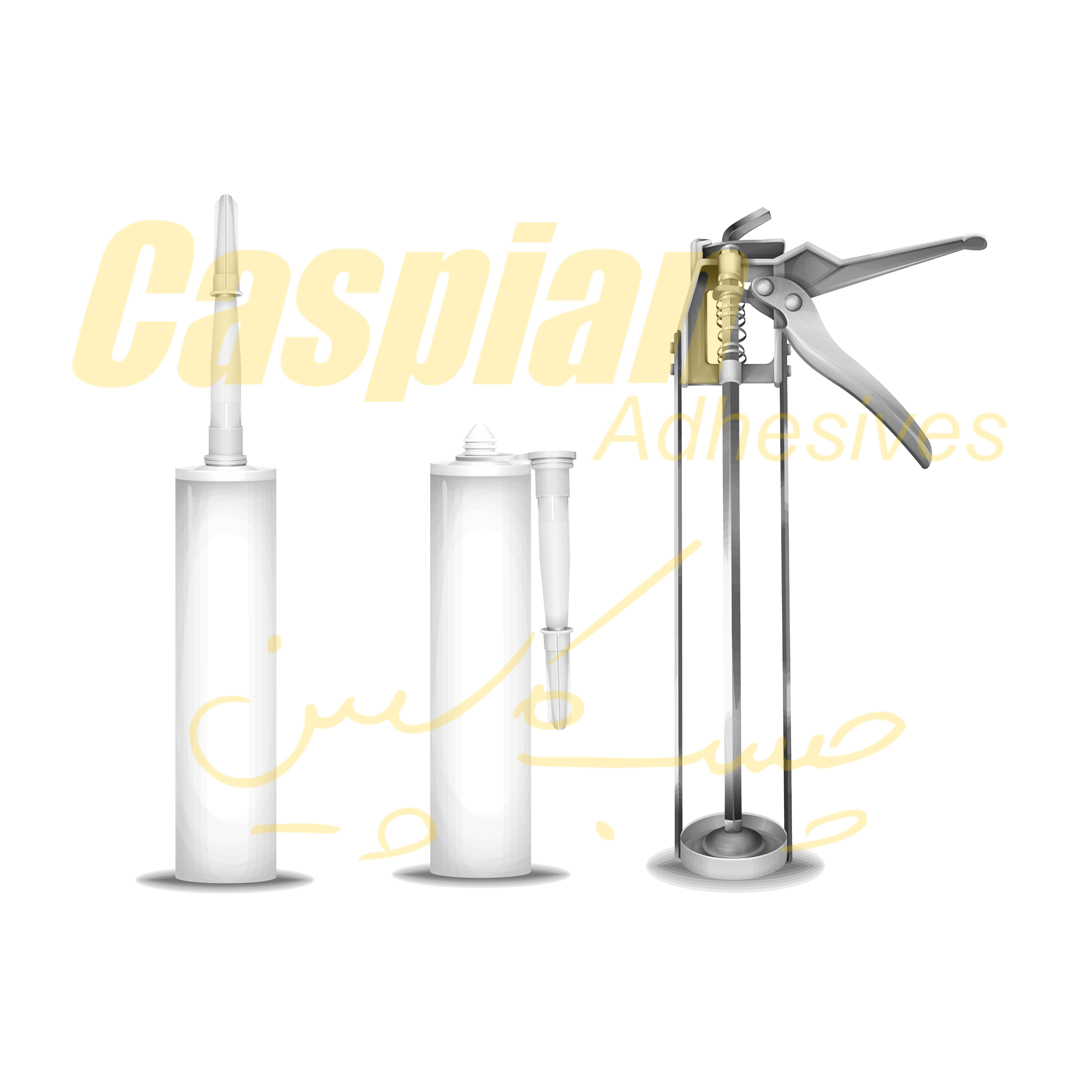
Silicone sealant is used to finish joints, keep out moisture and fill seams and other gaps. It is elastic, so it can allow for a certain amount of movement. Sealant is available in tubes and cartridges. A cartridge is enough for a seam of around 12-13 meters long with a thickness of 5 mm.
What tools do you need?
- sealant gun
- masking tape
- triangular scraper
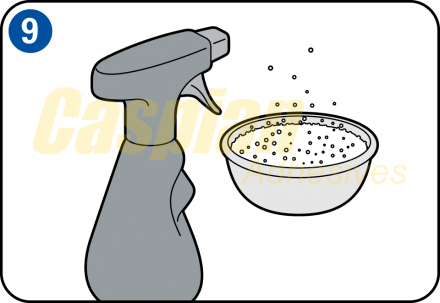
- plant spray
- hobby knife
- disposable rubber gloves
What type of silicone sealant to use?
The composition of the sealant determines how elastic it is and how quickly it hardens. Universal sealant is a good choice for general use. For use in the bathroom or other wet areas, the best choice is a mold-resistant sealant. This avoids blackening of the joint over time. Note that some types of silicone sealant can be painted over, while others can’t.

Bonding
Not all types of silicone sealant are suitable for every job. For example acrylic sealant isn’t suitable for use on glass, tiles and other smooth surfaces, while silicone rubber, Teflon and bitumen sealants have better adhesion on bitumen surfaces and roofing materials. In some cases the adhesion can be improved by first applying a coat of primer.

Painting over sealant
Most silicone sealants are available in white, gray, black, brown or transparent. You can choose the color that best matches the underlying surface, or otherwise paint the sealant the same color as the surface. Check first on the package whether the sealant can be painted over. If you intend to paint over the sealant, remember that the paint itself is not elastic, so it may crack later if there is any movement in the joint.

Oxidation
Clean the surface
If you want to fill a crack in the corner of a wall, you first have to remove all the loose material with a triangular scraper or a sharp knife. Then clean out the gap with a brush or vacuum cleaner. You should also remove any glue, sealant or oil residues with spirit or degreaser.

Masking
If you want the cleanest possible result and you’re not sure if you can apply the sealant in a perfectly straight line, especially in hard-to-reach places, then it’s best to use masking tape. Apply the tape so it covers both sides of the line to be sealed, and then remove the tape before the silicone sealant is dry.

Using the sealant cartridge
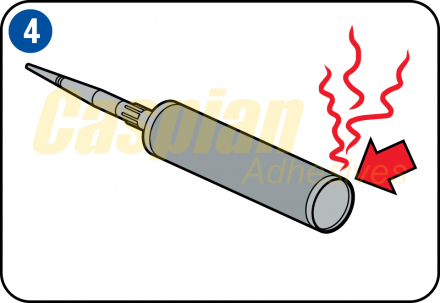
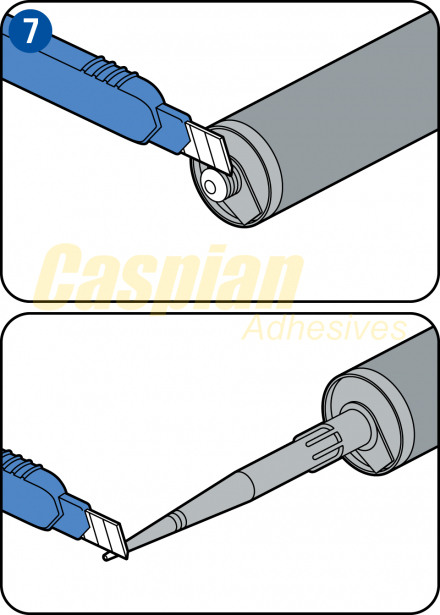
Use a hobby knife to cut off the cartridge seal. Then cut off a small part of the tip of the applicator nozzle to give you a narrow line of silicone sealant. If you cut off a bigger part of the nozzle, the line of sealant will be wider. Make the line of sealant 1 or 2 mm wider than the gap to be filled. Then load the cartridge in the sealant gun. When you pull on the handle, the applicator nozzle will fill with sealant. Stop as soon as you can see the silicone sealant.
Making the seal
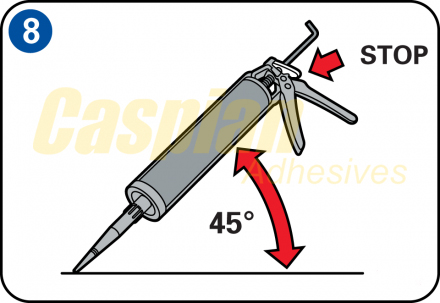
The best working position is to hold the sealant gun at an angle of 45° and to pull the gun towards yourself. To apply the sealant neatly you need to find the right working speed. If you move too slowly you’ll get a bumpy, irregular sealant surface, and you’ll waste sealant unnecessarily. If you move too quickly you won’t get good filling of the gap. When you reach the end of the seam release the handle and press the button or lever at the back of the sealant gun. This releases the pressure so the flow of sealant stops immediately. If you don’t do this the sealant will keep coming out of the nozzle.
Finishing off the sealant line
Wet your finger with some soapy water in a dish or basin and then smooth out the seam. The soap prevents the silicone sealant from sticking to your finger. You can also apply some soapy water with a plant spray. Remove any remaining traces of sealant with the soapy water. After the sealant has dried you can remove it with a knife and a hard sponge. Special spatulas and cleaners are available to apply and remove silicone sealant.
Source: https://www.skil.co.uk/step-by-step/how-to-apply-silicone-sealant.html