28 Aug How to Remove Dried Wood Glue From Wood Projects?
It happens to everyone, even professionals — you finish a project, and after applying the stain, an ugly blotch appears where a smear of glue sealed the wood away from your stain. You didn’t see it before, and now it’s there, in all it’s whitish glory. Glue gets everywhere. It squeezes out of joints, gets on fingers and mars the wood. Don’t be too hard on yourself. Use one of several solutions to remove the dried glue.
Drips and Drops
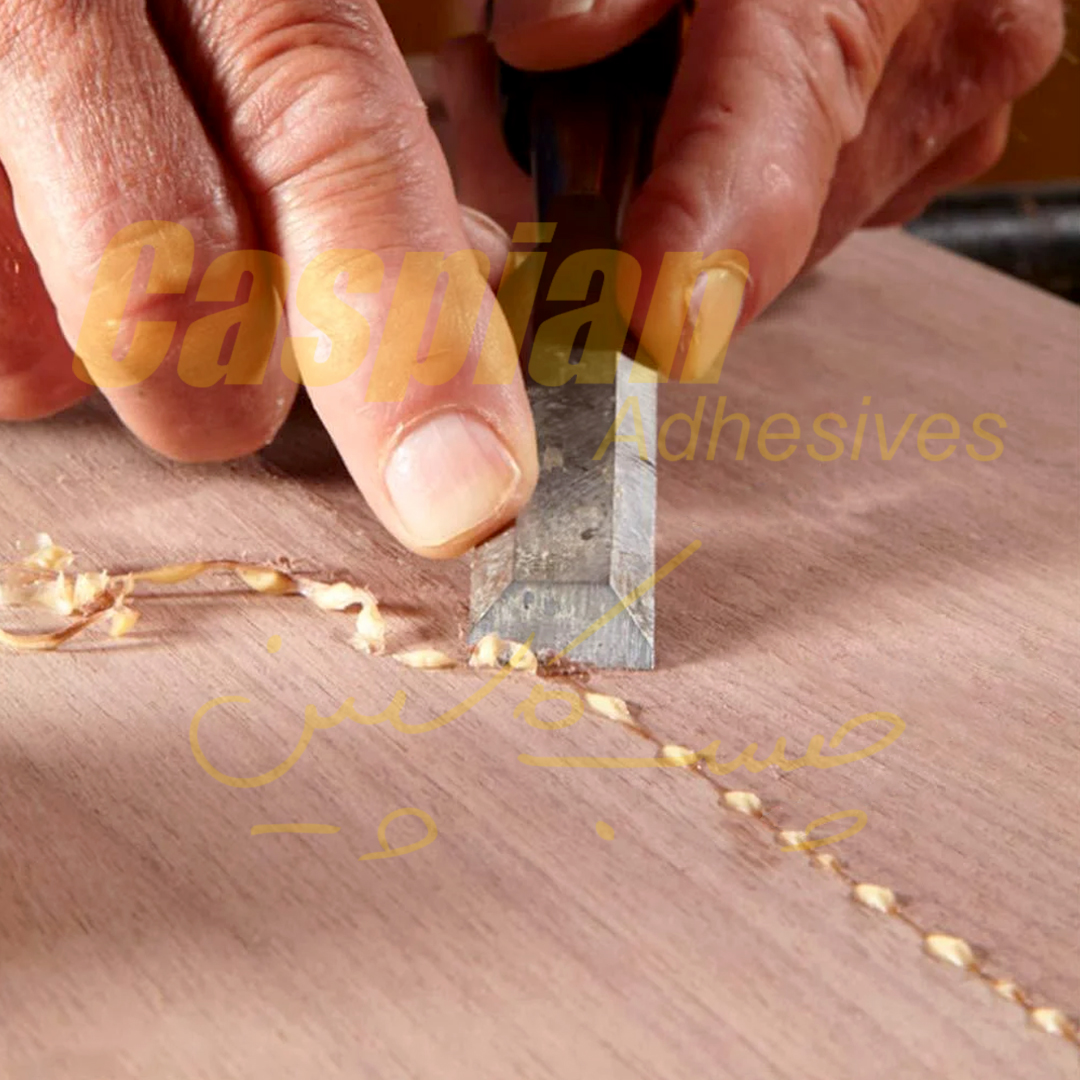
Dried wood glue is hard as rock. Fortunately that same hardness makes it easy to chip off with a sharp chisel.
Step 1: Get a Sharp Chisel
Place the tip of a sharp chisel at the base of the drip or gob of glue. The beveled side of the chisel should be facing up.
Step 2: Rock the Chisel
Hold the chisel at a 15-degree angle. Rock the chisel back and forth as you gently push it forward to get under the glue.
Step 3: Tap on It
Tap on the end of the chisel with a small mallet or other light object if the glue resists your efforts. When the glue chips off, lightly scrape the area with the sharp edge of the chisel to remove excess fibers that might have pulled loose.
Glue Smears
Glue smears are typically caused by fingers. Smears can’t typically be removed with a chisel, because the glue gets into the pores of the wood. Glue smears are common, and the only real solution is to sand them off. But before sanding, it’s sometimes possible to remove a smear by softening it with acetone.
Soften A Smear
Step 1: Tape it Off
Place strips of masking tape around the perimeter of the smear.
Step 2: Apply Acetone
Wet the smear with a cotton swab dampened with acetone. Acetone evaporates rapidly. Keep the smear wet for about 15 minutes.
Step 3: Scrape and Rub
Use the chisel to gently scrape off the softened glue. If it doesn’t do the job sufficiently, scrub the smear off with medium-grit steel wool.
Sand it Off
Even the best efforts with acetone might not remove a smear. If this is the case, sanding it off is the only option.
Step 1: Fold Sandpaper
Tear a piece of 100-grit sandpaper in half, and then tear one of the halves in half. Fold the quarter-sheet of sandpaper into a 1/2-inch-wide piece.
Step 2: Use Your Finger
Fold the strip of folded sandpaper around your finger. Scrub the sandpapered finger over the smear with a back-and-forth motion until the smear is gone.
Step 3: Switch to a Block
Attach 100-grit sandpaper to a sanding block if the smear removal left a white spot on the wood. Sand the area lightly to blend the spot, fading the white area into the stained area if needed. Reapply stain as needed to the sanded area.
Preventative Measures
Wet Glue
If you see wet glue anywhere on your project, wipe it off immediately with a damp cloth. Water is fine or use acetone for a stronger solution. If it’s a large gob or drip, wait about 15 minutes for the glue to dry slightly, and then scrape it off with the chisel. Waiting works better for larger glue spots because it doesn’t smear them.
Use Masking Tape
Tape off joints, cracks and other areas when you’re applying glue. The tape focuses the glue to go where you need it, without smearing, and it also prevents glue from squeezing out when you add clamps.
Clothing and Fabric
If you’ve got glue on your hands, it’s a sure bet it’s on your clothing as well. Unfortunately, wood glue is extremely hard to remove from fabric. If you notice it while it’s still wet, immediately wash it off with water. If you see it after it’s dry don’t wash it. Heat sets glue into clothing permanently. A solution of acetone, water and vinegar may soften the glue enough to scrape the majority of it off.
